Adjusting bike brakes is an essential skill for any cyclist. Whether you’re a casual rider or a seasoned pro, being able to confidently control your braking is crucial for your safety and enjoyment on the road or trail. In this comprehensive guide, we will walk you through the process of adjusting your bike brakes, covering everything from checking brake pads to tightening brake cables. By following these step-by-step instructions, you’ll be able to keep your bike brakes in optimal condition, ensuring smooth and efficient braking every time you ride.
Read More : Easy Guide: How to Change a Bike Tire Quickly
Whether you’re new to bike maintenance or a seasoned veteran, this guide has got you covered. We will provide you with tips and techniques that can be easily applied to both rim brakes and disc brakes. So, let’s dive in and discover how to adjust your bike brakes to perfection!
Key Takeaways:
- Regularly check your brake pads to ensure they are in good condition and replace them if worn down. Worn brake pads may affect your bike’s braking efficiency.
- Make sure the brake pads are correctly aligned with the rim or rotor to ensure optimal braking performance.
- Keep an eye on the tightness of your brake cables and adjust them if necessary to prevent loose or overly tight brakes.
- For disc brakes, check the alignment of the caliper and make necessary adjustments to avoid rubbing and ensure smooth operation.
- Always test your brakes after making adjustments to ensure they are functioning properly before heading out on a ride.
Checking and Adjusting Brake Pads
Before making any adjustments to your bike brakes, it is crucial to check the condition of your brake pads. Regularly inspecting your brake pads can help you identify any wear or damage, ensuring safe and efficient braking performance. If you notice that your brake pads are worn down past the wear line or have become damaged, it is essential to replace them before proceeding with any brake adjustments.
To check your brake pads, visually inspect them for signs of excessive wear, such as thinning or grooves. You can also feel the brake pad surface with your fingers to check for a smooth and even texture. If your brake pads exhibit any of these signs, it’s time for a replacement.
Once you have determined that your brake pads are in good condition, you can proceed with adjusting their position for optimal performance. Start by locating the brake pad bolts that secure the brake pads in place. You may need an Allen wrench to loosen these bolts.
After loosening the brake pad bolts, you can adjust the position of the brake pads within the brake pad holder. Moving the pads up or down will help you center them accurately on the rim of the wheel. This alignment ensures that the brake pads make even contact with the rim when braking, maximizing their effectiveness.
Once you have aligned the brake pads to your satisfaction, securely tighten the brake pad bolts to prevent any movement during your rides. Be careful not to overtighten the bolts, as this can lead to brake pad misalignment or difficulty in adjusting them in the future.
Squeezing and Centering Brake Levers
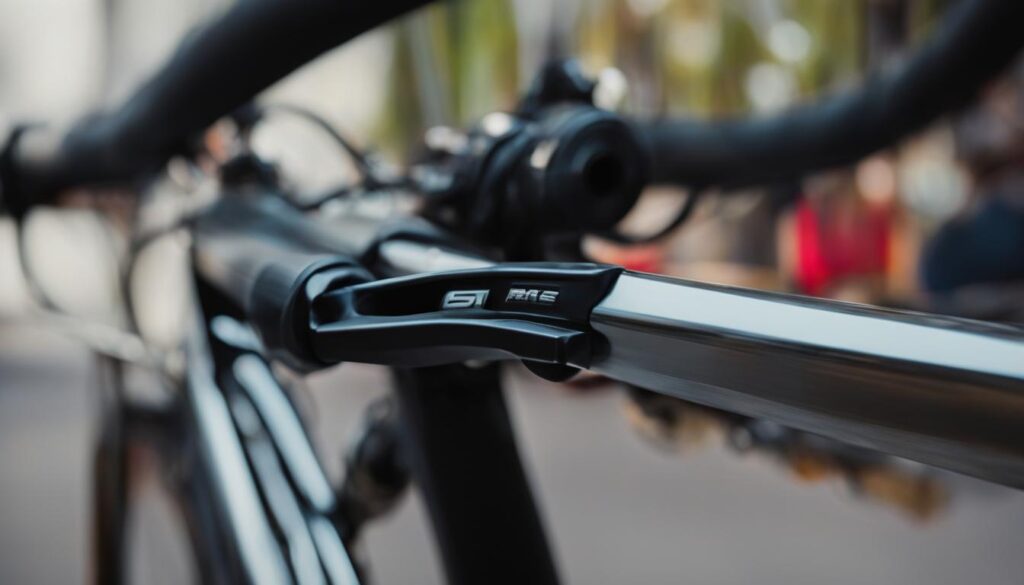
To ensure proper braking, it is important that both brake pads come into contact with the rim of the front tire at the same time. Squeeze the brake lever and observe the position of the brake pads. They should hit the center of the rim with an equal amount of space above and below. If the pads are hitting too high or low, they may come into contact with the tire or spokes. Additionally, check that the brake lever quick-release mechanism is not loose or undone, as this can affect the tightness of the brakes.
Steps to Squeeze and Center the Brake Levers:
- Squeeze the Brake Lever: Squeeze the brake lever firmly to engage the brake.
- Observe Brake Pad Position: Take a look at the position of the brake pads on both sides of the rim. They should make even contact with the rim.
- Adjust Brake Lever: If the brake pads are not centered, you will need to make adjustments. Locate the brake lever adjustment bolt on the brake lever body.
| Brake Lever Adjustment | Instructions |
|---|---|
| Loosening the Brake Lever: | Use an Allen wrench or appropriate tool to loosen the brake lever adjustment bolt. |
| Centering the Brake Pads: | Once the adjustment bolt is loosened, you can adjust the position of the brake pads up or down to center them on the rim. Ensure equal pad contact with the rim for both brake pads. |
| Tightening the Brake Lever: | Once the brake pads are centered, tighten the brake lever adjustment bolt to secure the position of the brake pads. |

By following these steps, you can ensure that your brake pads are centered and making equal contact with the rim. This will improve the efficiency and effectiveness of your bike brakes, allowing for safer and more controlled braking. Remember to test your brakes after making adjustments to ensure they are functioning properly.
Method 1 – Adjusting Brake Pads
One method of adjusting your bike brakes is by adjusting the brake pads. Follow these steps to ensure smooth and effective braking.
Step 1: Loosen Brake Pad Bolts
Begin by using an Allen wrench to loosen the bolts that hold the brake pads in place. Loosening these bolts will allow you to move the pads within the brake pad holder.
Step 2: Move Brake Pads
Once the bolts are loosened, you can easily move the brake pads up or down within the brake pad holder. This will help you center the pads on the rim of the wheel.
Step 3: Center Brake Pads
Position the brake pads so that they are centered and aligned with the rim of the wheel. This will ensure proper braking performance and prevent any rubbing or misalignment.
Step 4: Tighten Brake Pad Bolts
After adjusting the position of the brake pads, tighten the bolts to secure them in place. Make sure they are tight enough to prevent any movement during use.
| Step | Action |
|---|---|
| 1 | Loosen brake pad bolts using an Allen wrench |
| 2 | Move the brake pads up or down within the brake pad holder to center them on the rim |
| 3 | Ensure the brake pads are centered and aligned with the rim of the wheel |
| 4 | Tighten the brake pad bolts to secure them in place |
Method 2 – Tightening Brake Cables
Another method of adjusting bike brakes is by tightening the brake cables. It is important to regularly test the cable tightness to ensure optimal braking performance. Here are the steps to tighten your bike brake cables:
- Start by testing the tightness of your cables. Pull each brake lever to check if the levers hit the handlebars. If they do, it means the cables are too loose and need adjustment.
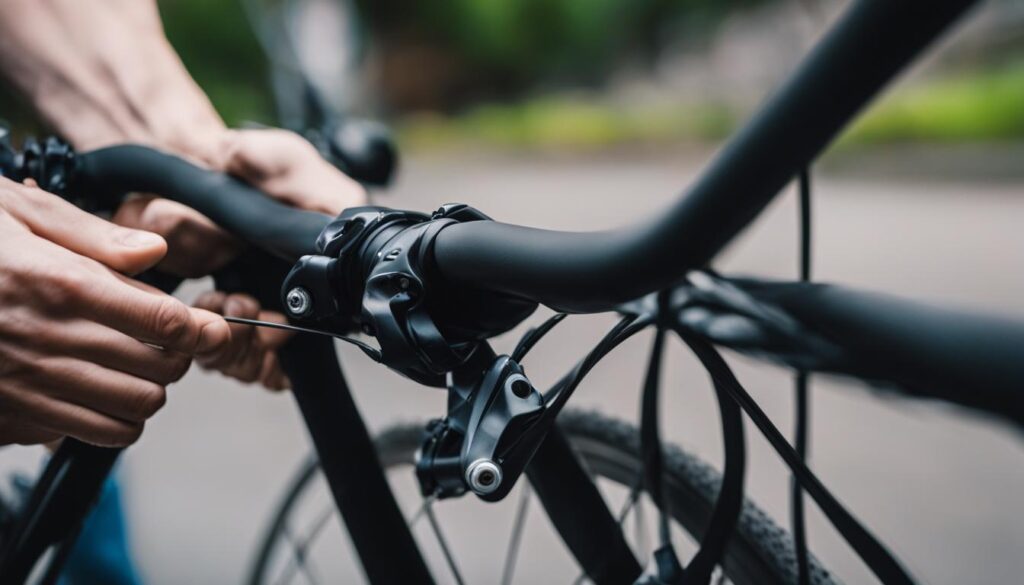
- Locate the barrel adjusters where the brake cables meet the brake levers. Loosen the barrel adjusters by turning them counterclockwise. This will provide some slack in the cables for adjustments.
- If the cables are still too loose after adjusting the barrel adjusters, you will need to adjust them on the brake caliper. Find the brake cable bolt on the caliper and loosen it using an appropriate wrench.
- With the brake cable bolt loosened, pull the brake cable to increase tension. This will tighten the cable and reduce the slack. Make sure to pull the cable just enough to eliminate the excess slack but still allow the brakes to engage properly.
- Once the desired cable tightness is achieved, tighten the brake cable bolt on the caliper securely. This will lock the cable in the tightened position.
- Finally, return to the barrel adjusters and tighten them by turning them clockwise. This will fine-tune the cable tension and ensure the brakes are aligned properly.
By following these steps, you can easily tighten your bike brake cables and improve your braking efficiency. Regularly check the cable tightness and make adjustments as needed to maintain optimal performance.

| Step | Action |
|---|---|
| 1 | Test cable tightness by pulling brake levers |
| 2 | Loosen barrel adjusters to adjust cable tension |
| 3 | Loosen brake cable bolt on the caliper |
| 4 | Pull brake cable to tighten it |
| 5 | Tighten brake cable bolt on the caliper |
| 6 | Tighten barrel adjusters to fine-tune cable tension |
Disc Brake Adjustments
If your bike has disc brakes, there are additional adjustments you can make to ensure optimal performance.
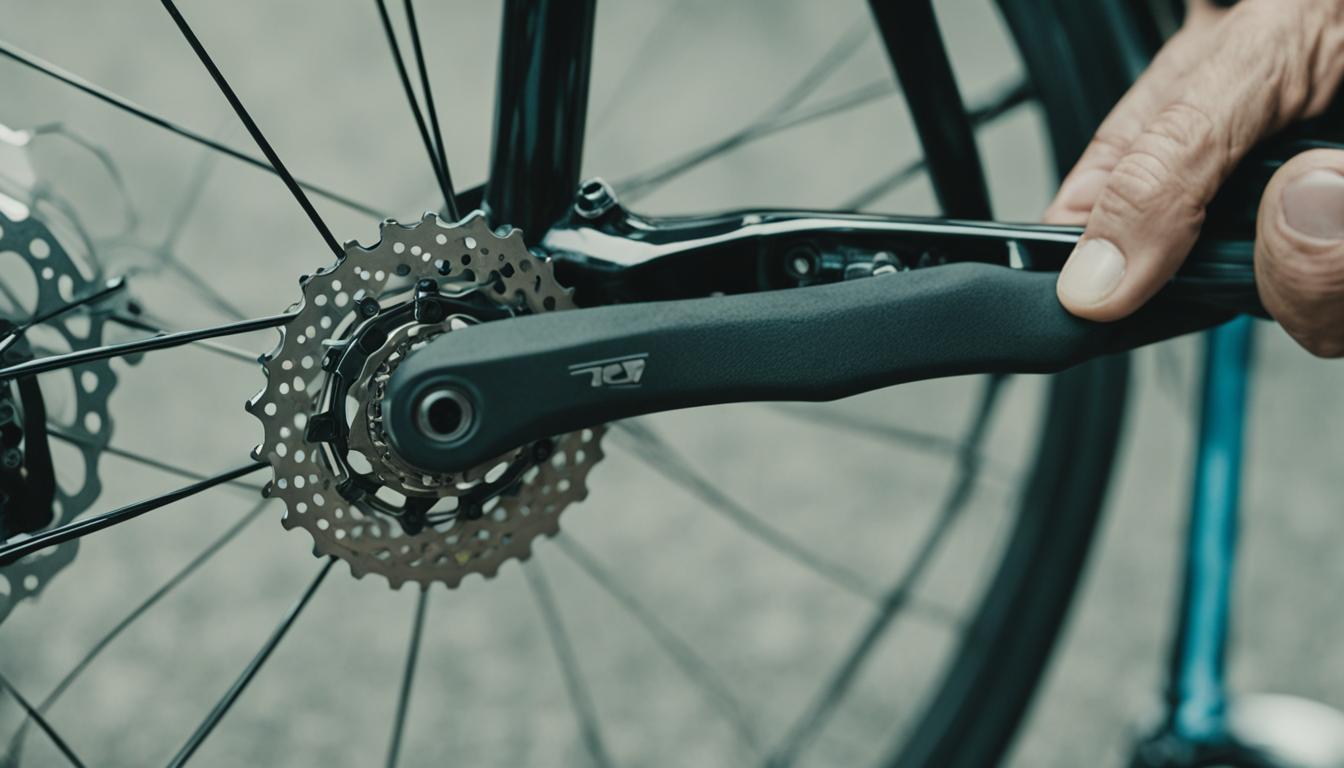
1. Start by checking that the wheel is properly aligned in the dropouts and that the quick-release mechanism is tight.
2. If the disc brake is rubbing, it is likely due to an incorrectly aligned brake caliper. Loosen the bolts on the caliper using a suitable wrench.
Pro Tip: Squeeze the corresponding brake lever while loosening the bolts to reset the caliper.
3. Once the caliper is loose, realign it by gently pulling and pressing the corresponding brake lever.
4. Retighten the bolts on the caliper to secure it in the correct position.
5. To make fine-tuning adjustments, use the barrel adjuster to move the brake pads closer to or farther from the rotor.
| Common Issues | Solutions |
|---|---|
| The disc brake rubs against the rotor | Check for proper caliper alignment and adjust if necessary |
| One brake pad contacts the rotor before the other | Use the barrel adjuster to adjust the position of the pads |
| The quick-release mechanism is loose | Tighten the quick-release lever to ensure a secure fit |
Conclusion
Adjusting your bike brakes is an essential maintenance task that every cyclist should know how to do. By regularly checking and adjusting your brake pads and brake cables, you can ensure optimal braking performance and ride with confidence. Whether you have rim brakes or disc brakes, the process is straightforward and can be done with basic tools.
Always remember to ride safely and test your brakes after making adjustments. Safety should be your top priority when it comes to your bike. With the step-by-step instructions provided in this guide, you can easily keep your bike brakes in top shape and enjoy a smooth and safe ride.
So, take the time to give your bike brakes the attention they deserve. A well-maintained braking system ensures reliable stopping power, which is crucial for your safety on the road or trail. Whether you’re a casual rider or a serious cyclist, mastering the art of bike brake adjustment will enhance your riding experience and give you peace of mind. Keep your bike brakes fine-tuned and maintain optimal performance for countless enjoyable rides to come.
FAQ
How often should I check and adjust my bike brakes?
It is recommended to check and adjust your bike brakes regularly, ideally every few months or whenever you notice any issues with braking performance.
How do I know if my brake pads need to be replaced?
You can check the condition of your brake pads by looking for a wear line on the surface. If the brake pads are worn down past this line, it is time to replace them.
How do I adjust the position of my brake pads?
To adjust the position of your brake pads, you will need to loosen the bolts holding them in place using an Allen wrench. Once loosened, you can move the brake pads up or down to center them on the rim and then tighten the bolts to secure them in place.
How do I ensure both brake pads hit the rim at the same time?
Squeeze the brake lever and observe the position of the brake pads. They should hit the center of the rim with an equal amount of space above and below. If they are hitting too high or low, adjust the position of the brake pads until both come into contact with the rim simultaneously.
How do I tighten the brake cables?
You can tighten the brake cables by using the barrel adjusters located where the brake cables meet the brake levers. If the cables are still too loose, you will need to adjust them on the brake calipers by loosening the bolt holding the brake cable and pulling the cable outward to tighten it.
How do I adjust disc brakes?
To adjust disc brakes, start by checking that the wheel is properly aligned in the dropouts and that the quick-release mechanism is tight. If the disc brake is rubbing, loosen the bolts on the caliper, squeeze the corresponding brake lever to reset the caliper, and then retighten the bolts.
Why is it important to regularly adjust bike brakes?
Regularly adjusting your bike brakes helps to ensure optimal braking performance and maintain your safety while riding. It can also extend the lifespan of your brake components and prevent potential issues that may arise from misaligned or worn-out brakes.


